A good paint finish is usually decided before the first coat goes on. If you are asking how to prepare for interior house painting, the short answer is this: make the room ready, make the surfaces sound, and make sure the work can proceed without delays. That preparation is what separates a tidy, durable result from a job that looks rushed within weeks.
For homeowners, preparation protects your furnishings, flooring and daily routine. For commercial spaces, it also protects operations. If a room is poorly prepared, painters spend time working around obstacles, patching issues late, or trying to control dust and mess after the fact. That adds avoidable disruption and can affect the final presentation.
Why preparation matters more than most people expect
Painting is not just about changing the colour of a room. It is a surface finish that needs a stable, clean base. Marks on the wall, minor cracking, greasy residue, damp damage and loose flaking paint all show through if they are ignored. In some cases, they become more obvious after repainting because fresh paint reflects light more evenly.
Proper preparation also helps with timing. When rooms are cleared, repairs identified early and access planned properly, the work can move in a controlled way. That matters in occupied homes, offices, strata properties and tenanted spaces where delays can have a knock-on effect.
How to prepare for interior house painting before work starts
The first step is deciding what is actually being painted. Walls, ceilings, doors, frames, skirting boards and built-in cabinetry all have different preparation needs. It helps to confirm the scope early so nothing is missed and the right products can be selected.
You should also look closely at the condition of each surface. Hairline cracks, water staining, dents, peeling paint, mould, or movement in plasterboard should be identified before painting begins. Some issues are cosmetic and easy to patch. Others point to leaks, moisture problems or failed substrates that need repair first. Painting over those problems may improve appearance briefly, but it does not solve the cause.
If you are planning a broader refresh, this is the point to consider whether other trades are needed before painting. Electrical changes, plaster repairs, carpentry adjustments or tiling works are best handled first. It is far more efficient to complete those items in the right sequence than repaint and then disturb the new finish.
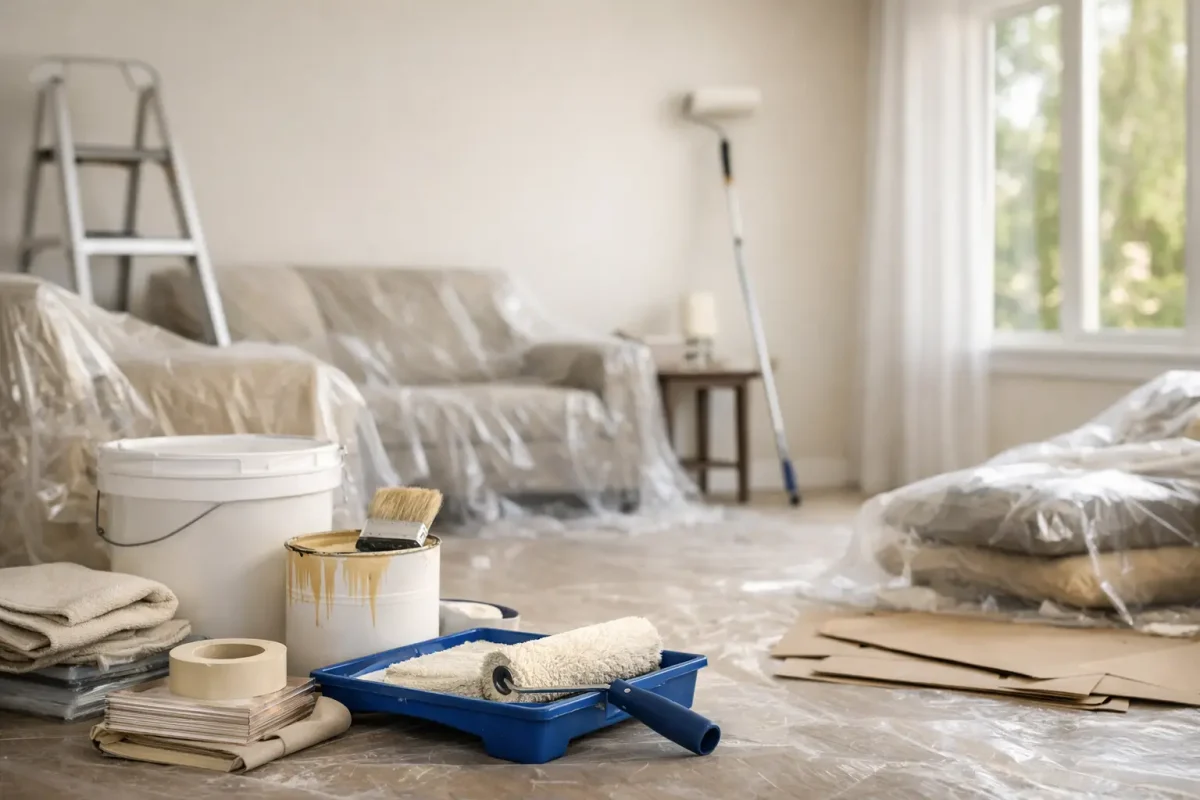
Clear the room as much as possible
The more accessible the room, the better the outcome. Remove artwork, soft furnishings, small furniture, electronics and anything fragile or valuable. Large pieces that cannot be moved out should be placed in the centre of the room and fully covered.
This is not just about protecting belongings. It gives painters proper access to edges, corners, ceilings and trim without working around obstacles. In commercial settings, it can also reduce downtime because the work area is clearly defined from the outset.
Protect floors, fittings and adjacent areas
Floors should be covered properly, not with a few loose sheets thrown down as an afterthought. Hard floors, carpet, built-in joinery, benchtops and fixtures all need suitable protection. Doorways and nearby rooms may also need to be screened off, particularly where sanding or patching is involved.
If painting is happening in an occupied property, think beyond the room itself. Consider access paths, storage of materials, and whether neighbouring spaces need protection from dust or accidental contact. A professional set-up is as much about controlling the site as it is about painting the walls.
Surface preparation is where the finish is won
Once the room is clear and protected, attention turns to the surfaces. This is the stage that most affects how the finished work will look in normal daylight and under artificial lighting.
Walls and ceilings should be cleaned where needed. Kitchens, hallways and high-contact areas often collect grease, hand marks and general residue that can interfere with adhesion. Bathrooms and laundries may need extra attention because of moisture and the possibility of mould. Any contamination left behind can reduce the life of the coating system.
After cleaning, surfaces should be checked again for damage. Nail holes, dents, small cracks and previous patchwork need to be filled and sanded smooth. If old paint is flaking or lifting, loose material must be removed back to a sound edge. Simply painting over unstable areas rarely lasts.
Repairs before painting
Minor filling is routine, but not every defect should be treated as minor. Repeated cracking around cornices, stained plasterboard, bubbling paint or soft wall sections can indicate a bigger problem. In these cases, the right approach depends on the cause.
If there has been water ingress, the source should be repaired and the affected area dried properly before repainting. If plaster is damaged beyond a simple patch, replacement may be the better option. This is where a coordinated contractor can save time, because the repair and repainting process can be managed in one programme rather than split across multiple trades.
Sanding, sealing and priming
Sanding creates a uniform surface and helps new coatings bond properly. It also removes minor imperfections and evens out repaired sections. Not every wall needs aggressive sanding, but most previously painted surfaces benefit from some level of abrasion and dust removal.
Priming is equally important, though it depends on the substrate and condition. Bare plaster, repaired patches, stained areas, glossy surfaces and major colour changes often require a specific primer or sealer. Skipping this step can lead to flashing, uneven coverage or stains bleeding through the finish coat.
Planning for occupied homes and working environments
A common mistake is treating interior painting as though the room will simply be out of action without consequence. In reality, most properties remain occupied. That means preparation should include practical planning, not just physical readiness.
For homes, think about which rooms will be used during the works, where furniture will be relocated, and how children or pets will be kept clear of the area. For commercial and institutional spaces, the same principle applies on a larger scale. Access windows, staged works, after-hours scheduling and noise-sensitive periods all matter.
This is one reason professional project planning makes a difference. Good preparation is not only about the wall condition. It is also about sequencing the work so it can be completed efficiently with minimal disruption.
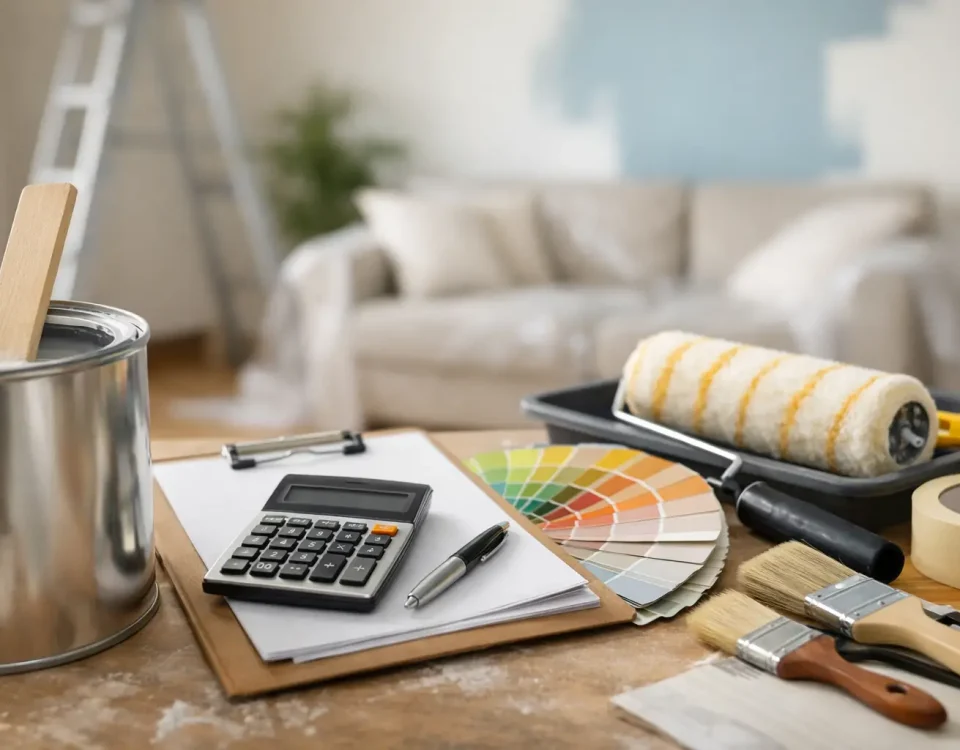
Choosing the right time and conditions
Interior painting is less weather-dependent than exterior work, but conditions still matter. Ventilation, drying time, room temperature and humidity all affect how paint behaves. Rooms with poor airflow or ongoing moisture issues may need extra attention before work starts.
Timing also depends on what else is happening in the property. If flooring is being replaced, cabinetry installed or electrical work is scheduled, painting should be coordinated around those activities. The right order avoids damage, rework and unnecessary cost.
What to do the day before painters arrive
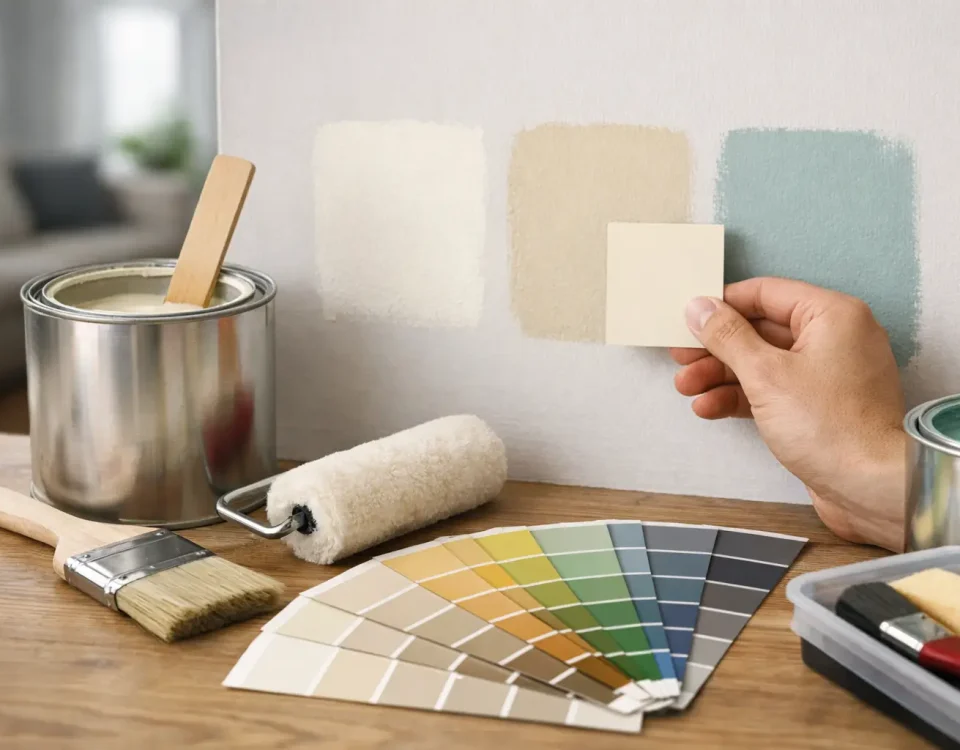
By the day before works begin, the decision-making should be finished. Colours, finishes and room access should already be confirmed. Remaining items should be removed from the work zone, wall hangings taken down, and any fragile fittings identified.
It is also helpful to note any known defects you want addressed, rather than assuming they will be obvious on site. A short walk-through can prevent misunderstandings and set a clear standard for the result.
If you are engaging a contractor, this is the point where communication matters most. Confirm start times, access arrangements, protection measures and whether any areas need to remain operational during the project. Reliable preparation supports a reliable programme.
How to prepare for interior house painting without creating extra work
The best preparation is practical, not excessive. You do not need to overcomplicate it, but you do need to be thorough. Clear access, identify repairs early, protect what stays in place and make sure the surfaces are clean and sound.
Where the job involves more than paint alone, it often makes sense to deal with repairs and related trades under one scope rather than piecing the work together. For clients who want the process handled properly from start to finish, that kind of coordination removes a lot of friction.
WADECO approaches painting work the same way it approaches maintenance in general – with clear planning, proper preparation and a focus on getting the job done right the first time.
If you prepare the space well, the painting stage becomes straightforward. More importantly, the finish has a far better chance of looking sharp on day one and staying that way long after the brushes are packed away.

2 Comments
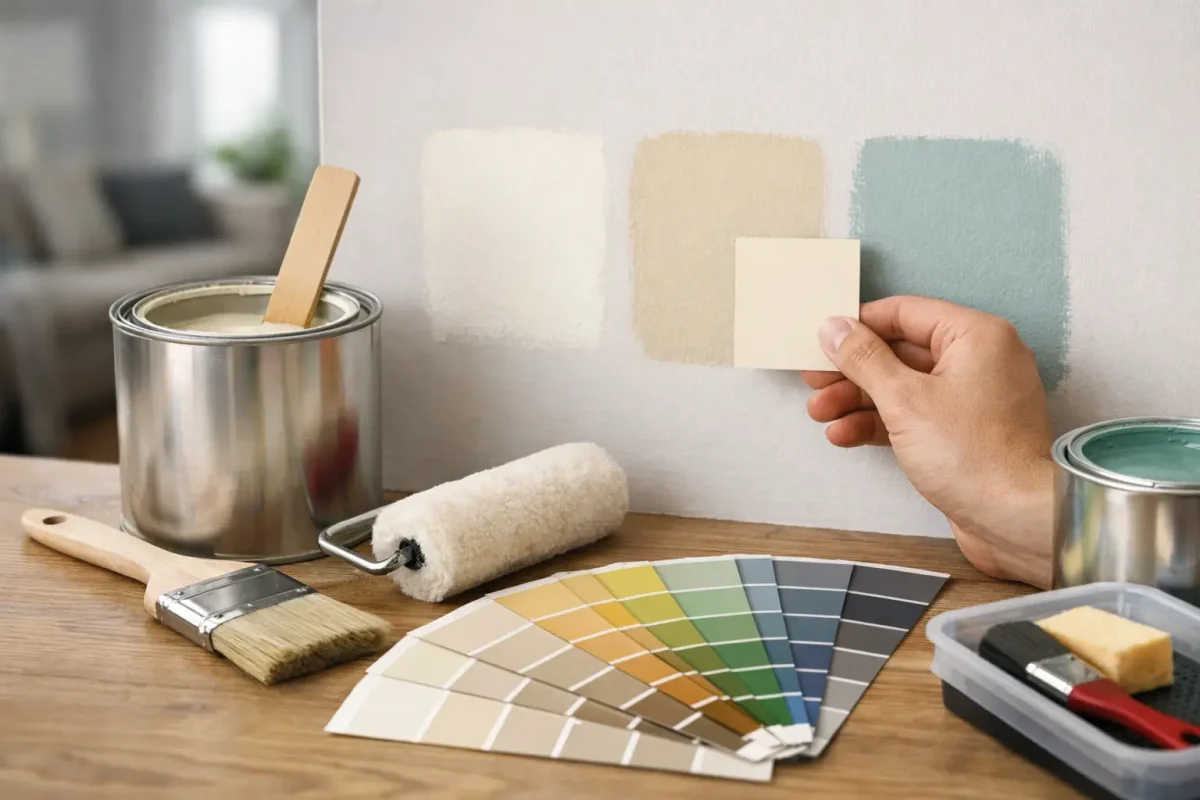
[…] there is one step worth slowing down for, it is sampling. Tiny chips are useful for narrowing options, but they are not enough to make a […]
[…] interior work, proper filling, sanding and priming make the difference between an average finish and a […]