If you want to know how to spray interior house paint, the result is decided long before the trigger is pulled. Most problems people blame on the sprayer – drips, patchy coverage, rough texture and paint dust everywhere – usually come back to poor preparation, the wrong setup or trying to move too quickly.
Spraying can produce an excellent finish on walls, ceilings, doors and trim. It is fast on large areas and can leave a smooth, even coat that is difficult to match by brush or roller alone. The trade-off is that it demands more control, more masking and a clearer plan for the room. If the space is occupied, furnished or still in use, the preparation can take longer than the painting itself.
When spraying interior paint makes sense
Spraying is most useful when speed and finish quality both matter. Empty homes, new builds, renovations, ceilings, multiple doors and detailed trim are strong candidates. It also suits properties where a consistent finish across large surfaces is the priority.
It is not always the best option for every occupied room. In lived-in homes, schools, offices and commercial spaces, overspray risk and disruption can outweigh the time saved. In those cases, a combined approach often works better – spray where it is efficient, then back-roll or use traditional methods where control matters more.
Choose the right sprayer and paint setup
For most interior house painting, an airless sprayer is the standard choice. It moves quickly and handles standard wall and ceiling paints well. HVLP systems can work for finer finish jobs such as cabinetry or trim, but they are generally slower for broad wall areas.
Tip size matters. A larger tip suits heavier wall paints, while a smaller tip gives better control on doors, trim and thinner coatings. If the tip is too large, you may lay down too much paint and create runs. Too small, and the fan pattern can become uneven or the sprayer may struggle.
Not every paint should be heavily thinned. Many modern paints are designed to be sprayed as supplied, or with only minimal adjustment if the manufacturer allows it. Over-thinning can reduce coverage, alter sheen and affect durability. Always check the product data first rather than guessing.
How to spray interior house paint without creating extra work
Preparation is the part most people underestimate. If you spray a room properly, almost everything that should not be painted needs to be covered, removed or sealed off. That includes floors, windows, light fittings, power points, switches, built-ins, hardware and adjoining rooms where airborne paint dust can travel.
Start by clearing the room as much as possible. Anything left behind should be grouped tightly and fully sheeted. Remove door furniture, switch plates and vent covers where practical. Mask skirtings, architraves and any surfaces that require a clean line. On larger jobs, proper masking paper and film save time and give a neater result than improvised coverings.
Ventilation also needs thought. Good airflow helps with drying, but uncontrolled airflow can carry overspray into areas you did not intend to coat. The aim is managed ventilation, not simply opening everything and hoping for the best.
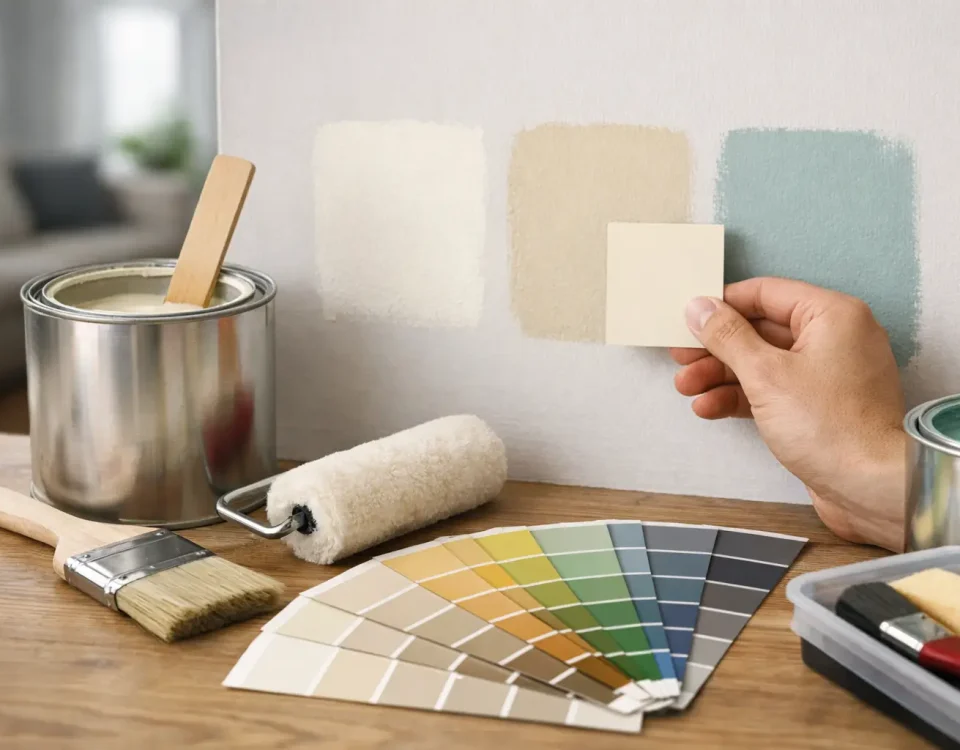
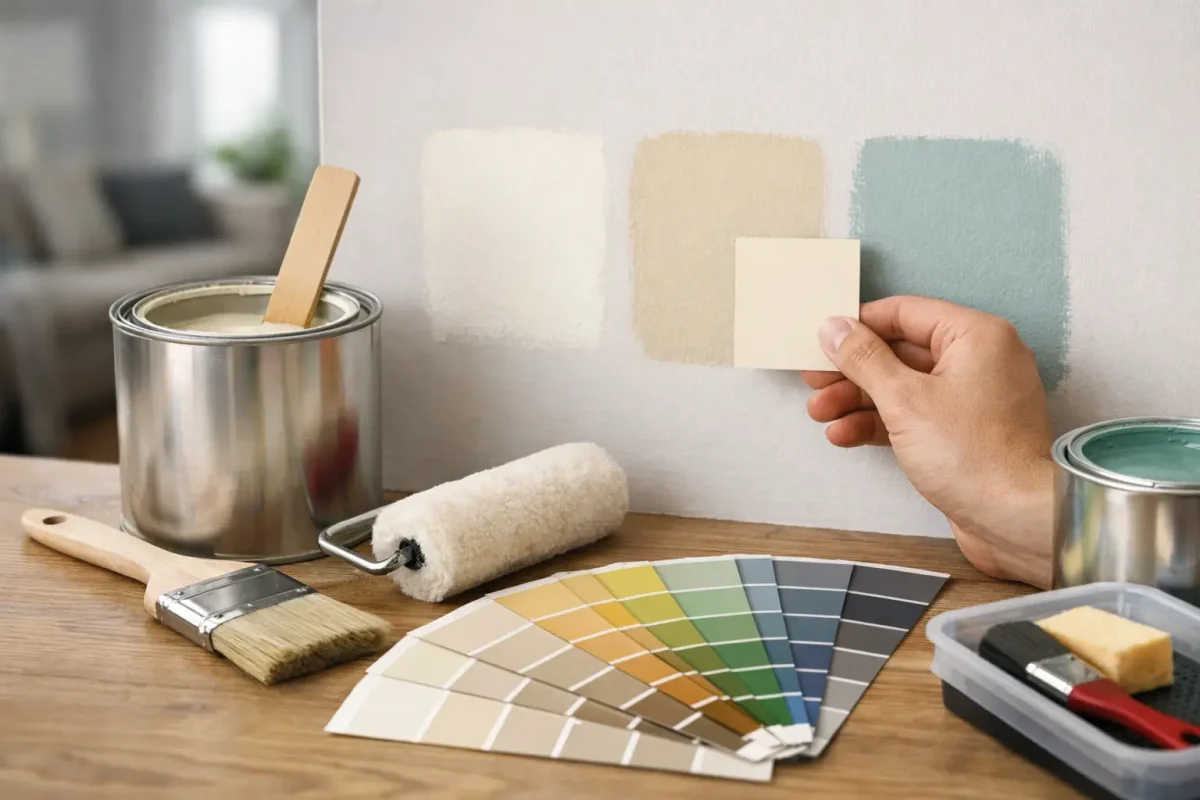
Surface prep still decides the finish
Sprayers do not hide poor surfaces. In fact, they often make defects more obvious because the coating sits evenly across every bump, crack and repair. If walls have nail holes, dents, flaking paint or patchy previous repairs, deal with those first.
Wash surfaces if there is grease, dust or residue. Sand glossy or unstable areas so the new coating can adhere properly. Fill defects, sand smooth and spot-prime where needed. On stained areas, fresh plaster repairs or significant colour changes, a suitable primer or sealer is often the difference between a finish that lasts and one that starts failing early.
This is where professional planning saves rework. A smooth sprayed finish looks sharp, but only if the substrate is ready for it.
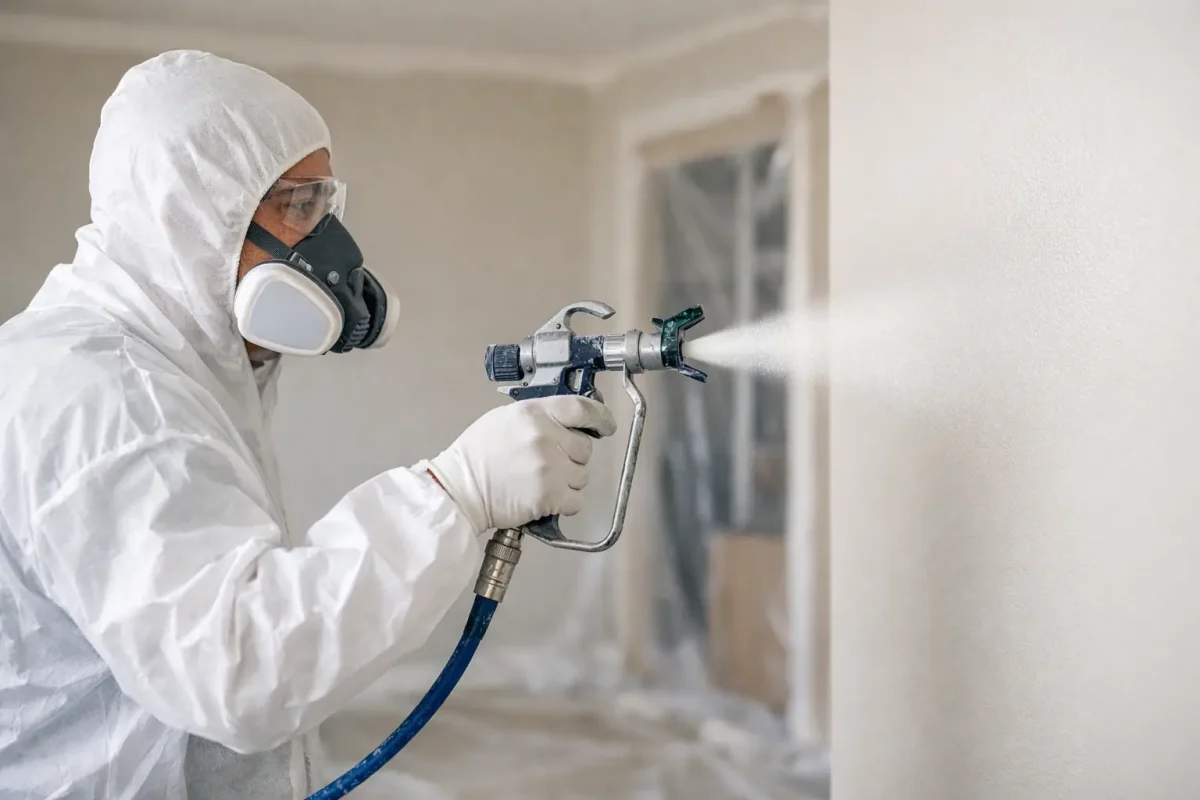
Technique matters more than speed
Before spraying the actual room, test the fan pattern on masking paper or cardboard. You want an even spray without heavy edges or spits. If the pattern looks uneven, check pressure, tip wear and whether the paint is suitable for the setup.
Hold the gun square to the surface and keep a consistent distance, usually around 25 to 30 centimetres depending on the equipment and coating. Move your whole arm rather than flicking your wrist. Start the stroke before pulling the trigger and release the trigger before stopping the stroke. That helps avoid heavy build-up at the beginning and end of each pass.
Each pass should overlap the previous one by roughly 50 per cent. That overlap is what creates an even coat. If you try to cover too much area with too little overlap, the finish can look stripy or thin. If you move too slowly or stay too close, runs become likely.
Work in a clear sequence. Ceilings first, then walls, then trim or doors if they are being sprayed separately. On walls, complete one section methodically rather than jumping around the room. Keeping a wet edge helps the finish level out more evenly.
Should you back-roll after spraying?
Sometimes yes. Sometimes no.
On plasterboard walls and ceilings, back-rolling after spraying can improve uniformity, help work the paint into the surface and reduce the risk of an uneven visual finish, particularly with low-sheen products. It is a common approach on new work and broad interior surfaces.
If the goal is a very smooth finish on joinery, doors or fine trim, back-rolling usually defeats the point. In those cases, the sprayed finish is typically left as applied, provided the surface preparation and spray technique are both right.
The correct approach depends on the substrate, the paint system and the standard of finish required.
Common mistakes when learning how to spray interior house paint
The most frequent mistake is poor masking. Overspray settles further than many expect, especially in connected interior spaces. The second is applying too much paint in one pass. People often see a light area and slow down, which creates a run instead of building coverage with a second controlled coat.
Another issue is inconsistent gun distance. Moving closer and further away through each stroke leaves a patchy finish. So does arcing the gun at the end of each pass. Keep it parallel to the surface all the way through.
Finally, do not ignore drying and recoat times. A surface may feel dry to touch but still be too fresh for another coat. Rushing this stage can affect adhesion, sheen and final appearance.
Safety and site control
Spraying indoors means atomised paint in the air, so respiratory protection is essential. A simple dust mask is not enough for many coatings. Eye protection, protective clothing and careful control of the work area also matter, particularly in occupied buildings.
For residential work, that may mean isolating rooms and protecting adjacent finishes. In commercial and strata environments, it often means planning around occupants, operating hours, access routes and other trades. The painting itself is only one part of the job. Managing disruption is just as important.
That is one reason many clients choose a contractor with broader coordination capability. On more complex projects, painting often sits alongside plaster repairs, electrical plate removal, carpentry rectification or other maintenance items. A single point of contact keeps the work moving and reduces delays between trades.
Clean-up is part of the quality standard
A professional result is not just the finish on the wall. It is also a clean site, sharp lines, reinstalled fittings and no paint where it should not be. Clean the sprayer thoroughly as soon as the work is complete or between coatings where required. Dried paint in the system quickly causes blockages and poor spray patterns.
Remove masking carefully once the coating has reached the right stage. Too early and you risk smudging; too late and you can tear the edge. Check the room in good light for misses, dry spray or build-up around corners and fix those before packing away.
If you are spraying one room in your own home, patience will usually get you there. If you are dealing with a larger property, an occupied site or a finish that needs to stand up to scrutiny, proper planning and experienced application make a noticeable difference. WADECO handles these projects with the preparation, control and finish standards that keep the job right the first time.
A sprayer can make interior painting faster, but the real advantage is consistency – provided every stage around it is handled properly.

