A quality exterior coating system starts well before the first coat of paint is applied. This guide to exterior surface preparation sets out the work required to create a sound, clean and stable base – the difference between a finish that performs for years and one that fails prematurely.
For commercial properties, strata buildings and busy homes, preparation is also where sensible project planning matters most. Access, weather, tenant activity, surface condition and complementary repairs all need to be considered before work begins. Skipping these decisions may save time in the short term, but it usually leads to early deterioration, avoidable disruption and expensive rework.
Why exterior preparation carries the job
Exterior surfaces across Perth and Western Australia contend with strong sun, heat, rain, windblown dust and, in coastal areas, salt exposure. These conditions gradually break down existing coatings and expose weaknesses in timber, masonry, metalwork and sealant joints.
Paint cannot correct a surface that is damp, chalky, cracked or contaminated. It may cover the problem briefly, but it cannot create a lasting bond where the substrate is unsound. Proper preparation identifies the cause of deterioration first, then addresses it with the correct repair, treatment and primer.
This is particularly relevant for commercial sites. A peeling façade, rust-stained balustrade or deteriorating timber trim affects presentation, but it can also signal a wider maintenance issue. Addressing that issue during planned repainting helps protect the asset and reduces the likelihood of reactive repairs later.
Start with a detailed condition assessment
Every exterior should be inspected before a coating specification is finalised. The assessment should establish what the surface is made from, the condition of the existing coating, likely sources of moisture and whether there are underlying defects requiring another trade.
Look closely at areas that receive the most weather: parapets, eaves, window sills, balconies, exposed doors, gutters, roofline elements and south-facing walls that may retain moisture. Check for flaking paint, powdery residue, bubbling, cracking, biological growth, open joints, corrosion and damage caused by impact or movement.
The age and history of the building also matter. Older properties can contain multiple incompatible coating layers, while previously repaired areas may need different treatment from the surrounding surface. If lead-based paint is suspected, the work needs appropriate testing, containment and safe removal procedures. This is not an area for assumptions.
A thorough inspection also clarifies scope. Small defects can often be repaired as part of a painting programme. Larger issues such as failed flashing, damaged cladding, leaking plumbing, rotten structural timber or loose masonry should be rectified before coating work proceeds. A multi-trade approach is useful here because the repair work and repainting can be managed through one point of contact rather than leaving the client to coordinate separate contractors.
Clean the surface properly
Cleaning removes contaminants that prevent adhesion. Dirt, dust, mould, salt, grease and loose chalking all interfere with paint performance, even when the surface looks reasonably clean from ground level.
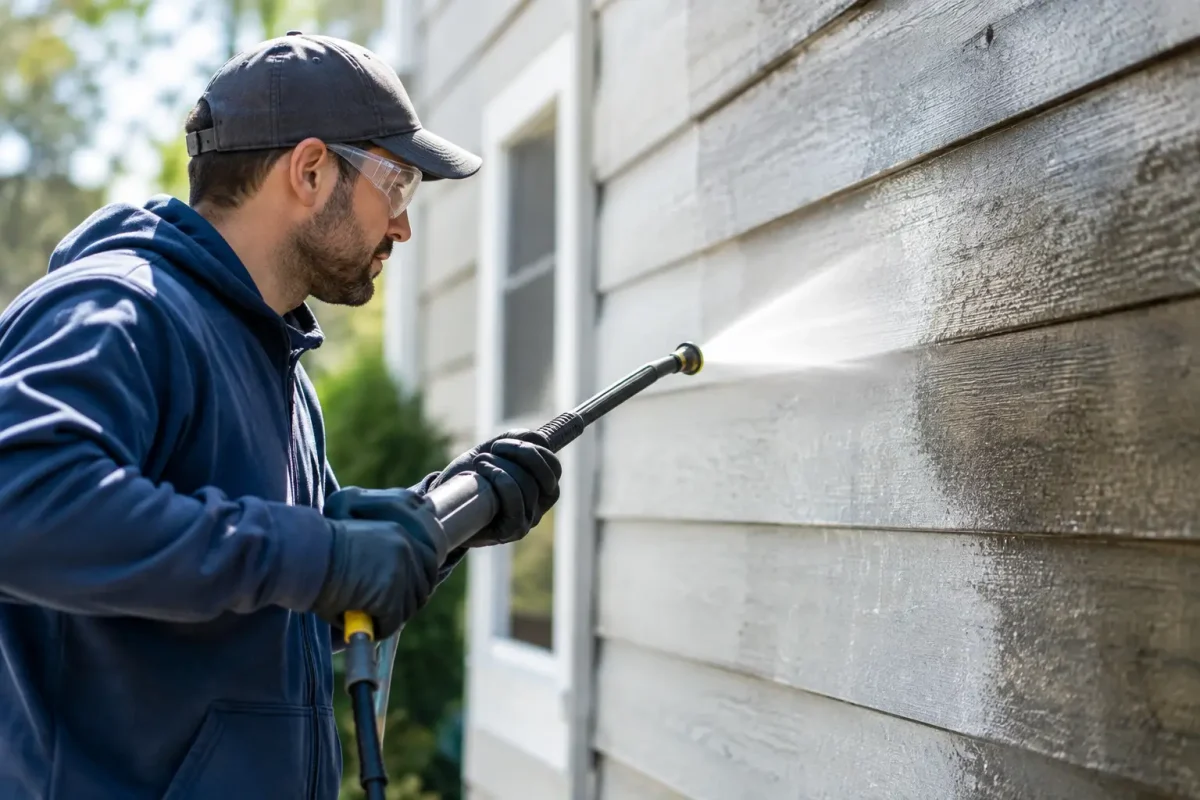
The right method depends on the material and condition. Pressure washing is effective for many masonry and previously painted surfaces, but excessive pressure can damage weatherboards, force water behind cladding or erode weak mortar. Timber may require a gentler wash and controlled scraping. Metalwork often needs degreasing and mechanical abrasion to remove surface corrosion.
Mould and mildew require treatment, not just a rinse. The affected surface should be cleaned with a suitable fungicidal wash, then allowed to dry fully. Painting over active growth traps the problem beneath the coating and commonly results in staining or failure.
Salt deserves particular attention on coastal or exposed properties. A surface can appear dry and clean while retaining salt deposits that compromise adhesion. Thorough fresh-water washing and adequate drying time are essential before priming or painting begins.
Allow for drying time
Exterior preparation is governed by weather as much as workmanship. Surfaces must be dry enough for the specified coating system, and painting should not proceed where rain, heavy dew, extreme heat or poor curing conditions are likely to affect the result.
This can require a flexible programme, especially on occupied sites. Planning work by elevation, staging access equipment and monitoring conditions each day helps keep the project moving without compromising the finish. The quickest schedule is not always the most efficient one if it creates failed coatings and return visits.
Remove failed paint and prepare sound edges
Loose, peeling or blistered paint must be removed back to a firm edge. The aim is not necessarily to strip every existing coating from the building. Where earlier paint remains sound and compatible, it can often be retained, cleaned, sanded and primed as part of the new system.
Scraping, sanding, wire brushing and mechanical sanding are selected according to the substrate. The prepared edge between bare material and sound existing paint should be feathered so it does not show as a sharp ridge through the final coat. This makes a visible difference on doors, fascia boards, window frames and high-profile commercial elevations.
Chalking paint requires special attention. If a hand passes over a coating and picks up a powdery residue, the surface may need more intensive washing, stabilising treatment or a suitable binding primer. Applying topcoats directly to chalky paint is a common cause of peeling.
Repair defects before applying coatings
Preparation is the right time to deal with the small failures that allow water into a building envelope. Open gaps, failed sealant, hairline cracks and damaged sections should be repaired with materials suited to the surface and expected movement.
For timber, this may include replacing decayed sections rather than filling over rot. For masonry, cracks need assessment before they are simply patched: some are cosmetic, while others indicate movement, moisture or substrate failure. Metalwork needs corrosion removed to a sound surface, followed by the correct anti-corrosive primer system.
Sealant joints around windows, doors and penetrations must be clean, dry and properly tooled. The choice of sealant depends on joint movement and the adjacent materials. A rigid filler in a moving joint will crack again quickly, while poor adhesion at the edge of a sealant bead creates an easy path for water.
On larger projects, repairs should be recorded and agreed before painting continues. This keeps costs transparent and avoids the situation where a visible defect is concealed without addressing the cause.
Prime for the substrate, not convenience
Primer is not a generic extra coat. It is the link between the prepared surface and the finish coats, and different materials require different products. Bare timber, galvanised steel, previously painted masonry, fibre cement and areas with staining or corrosion each have distinct requirements.
A suitable primer improves adhesion, seals porous surfaces and can block stains or inhibit corrosion. Spot priming may be adequate where only small areas have been taken back to bare material. Full priming may be necessary where a surface is highly porous, heavily weathered, extensively repaired or changing from one coating type to another.
The coating system should be selected as a complete system, not as individual products chosen on price alone. Compatibility between primer, undercoat and topcoat affects durability. So does the specified film thickness: thin, hurried coats rarely deliver the protection expected from a premium exterior finish.
Protect the property while work is underway
Preparation can be dusty, noisy and disruptive if it is not well managed. Effective containment protects windows, landscaping, paving, vehicles, neighbouring areas and the public. On commercial premises, it also helps maintain safe access for staff, customers and contractors.
A well-managed exterior project should account for four practical controls:
- safe access equipment and exclusion zones around work areas;
- protection for glazing, signage, outdoor furniture and adjacent finishes;
- dust and waste control during sanding, scraping and repairs; and
- clear communication about work stages, parking impacts and temporary access changes.
For facilities managers and strata representatives, these controls are as valuable as the final appearance. They reduce complaints, support site safety and allow daily operations to continue with less interruption.
A final check before topcoats
Before finish coats begin, inspect the prepared surface in good light. It should be clean, dry, smooth where required, free from loose material and properly primed. Repairs should be sound, joints sealed and surrounding areas protected.
This is also the point to confirm colour, sheen level and coating specification. A high-sheen finish can highlight surface imperfections, while a lower sheen may be more forgiving on broad, uneven elevations. The right choice depends on the substrate, architectural style, cleaning needs and the standard of presentation required.
WADECO approaches preparation as part of the full maintenance outcome, not a task to rush through before painting. When cleaning, repairs, trade coordination and coating selection are planned together, clients receive a more durable result with fewer moving parts to manage.
The best time to address exterior defects is before they become water damage, timber decay or a major presentation problem. A careful site assessment and a properly prepared surface give every subsequent coat the conditions it needs to do its job.